Best dry bag size for a full day kayak trip
There's nothing quite like the freedom of a full day spent paddling and casting from your kayak on an Ontario lake or river. But that freedom can quickly turn to frustration if your essential gear gets soaked or, worse, you can't even fit everything you need. Choosing the right dry bag size for a full-day kayak trip isn't just about keeping things dry; it's about comfort, safety, and making sure you have what you need when you're miles from shore. This guide will walk you through how to properly size a dry bag so your next adventure is perfectly prepared.
Why Dry Bag Size Matters for a Full-Day Kayak Trip
When you're out on the water, whether it's exploring the nooks and crannies of Georgian Bay or navigating a stretch of the French River, your kayak is your everything. It's your transportation, your fishing platform, and your storage unit. The size of your dry bag directly impacts how effectively you can manage your gear and how comfortable your trip will be. It's a Goldilocks scenario: too small, and you'll be leaving essentials behind or cramming things in, risking damage. Too large, and it becomes a bulky, unwieldy mess that takes up valuable space, throws off your balance, and makes accessing items a chore.
Imagine you're targeting smallmouth bass on a clear summer day on Lake Simcoe. You've packed a small dry bag, thinking you only need your phone, wallet, and a snack. But then the clouds roll in unexpectedly, and the temperature drops. Your rain jacket is crumpled and jammed into a tiny corner, barely fitting, and now you have no room for your carefully packed lunch. Or, conversely, you bring a massive dry bag meant for an overnight trip, and it just doesn't fit comfortably in your kayak's storage hatch, or it sits awkwardly on deck, shifting with every paddle stroke. Neither scenario is ideal, and both can detract significantly from your fishing experience. The right size ensures your valuables are safe, accessible, and don't interfere with your paddling or fishing. It's about finding that sweet spot where practicality meets peace of mind.
Sizing Up Your Dry Bag: What to Consider Packing
Before you even think about liters or dimensions, the first step in choosing the perfect dry bag is to perform a mental (or actual!) inventory of what you genuinely need for a full day on the water. This isn't just about what you might use, but what you will use, plus critical safety and comfort items. Every trip is different, of course, but for a full-day outing, there are some common categories to consider.
Essential Gear Categories
Think about what you absolutely cannot do without. This typically includes:
- Electronics: Your phone, GPS device, a power bank for charging, perhaps a waterproof camera. These are often the items we're most concerned about keeping dry.
- Wallet and Keys: Car keys, house keys, ID, credit cards, and cash. You'll definitely want these to be secure and dry at the end of the day.
- Food and Drink: Snacks, sandwiches, and maybe a small reusable water bottle. While you might have a dedicated cooler for drinks, some snacks might need to stay dry in your bag.
- Extra Clothing Layers: This is crucial in Ontario, where weather can change quickly. A lightweight rain jacket, a fleece pullover, or an extra pair of socks can make all the difference on a cool or wet day. Consider how bulky these items are when rolled tightly.
- First-Aid Kit: A small, personal first-aid kit is non-negotiable for safety. Band-aids, antiseptic wipes, pain relievers – these should always be with you.
- Fishing Essentials: While your main tackle box might be separate, some smaller, critical items like a specific set of flies or a specialty lure you don't want to lose might find a home in your dry bag. Remember that even if you have a Best Crate Setup for Kayak Fishing Storage, a dry bag offers an extra layer of protection for select items.
Assessing Your Personal Needs
A great way to figure out your ideal dry bag size is to literally lay out all the items you think you'll need for your trip. Group them by category. For instance, all your electronics together, all your extra clothes, all your food, etc. Once you have everything laid out, try to visualize how much space it would take up if tightly packed. This exercise helps you differentiate between "must-haves" and "nice-to-haves." Do you really need that hardcover book, or will your phone with some downloaded articles suffice?
Think about the time of year and the specific body of water. A summer trip on a calm inland lake like Lake Muskoka might require less bulky clothing than a spring trip on the larger, more unpredictable waters of Best Kayak for Lake Erie. If you're planning on being out from dawn till dusk, you'll naturally need more food and perhaps more layers than a quick afternoon paddle.
Rough Guide to Capacity by Item Count
While there's no single "correct" answer, here's a general idea of how item count translates to dry bag capacity for a full-day kayak fishing trip:
| Item Count | Suggested Dry Bag Capacity | What it Might Hold |
|---|---|---|
| Minimal (3-5 items) | 5-10 Liters | Phone, wallet, keys, small snack, thin rain shell |
| Standard (6-10 items) | 15-20 Liters | Phone, wallet, keys, snacks/lunch, rain jacket, fleece, small first-aid, headlamp |
| Extended (10+ items) | 25-30 Liters | All of the above, plus a larger lunch, extra heavy layer, small binoculars, compact camera, fishing specific items |
Remember, this is just a starting point. The actual bulk of each item matters more than just the count. A thick down jacket takes up far more space than a lightweight rain shell, even though both are "extra clothing."
Common Dry Bag Sizes and Their Full-Day Applications
Now that you have a better idea of what you plan to bring, let's break down the common dry bag sizes available and what they're typically best suited for on a full-day kayak trip. You'll find a wide range of options at places like Bass Pro Shops or online through retailers like Amazon, so understanding the capacities will help you narrow down your search.
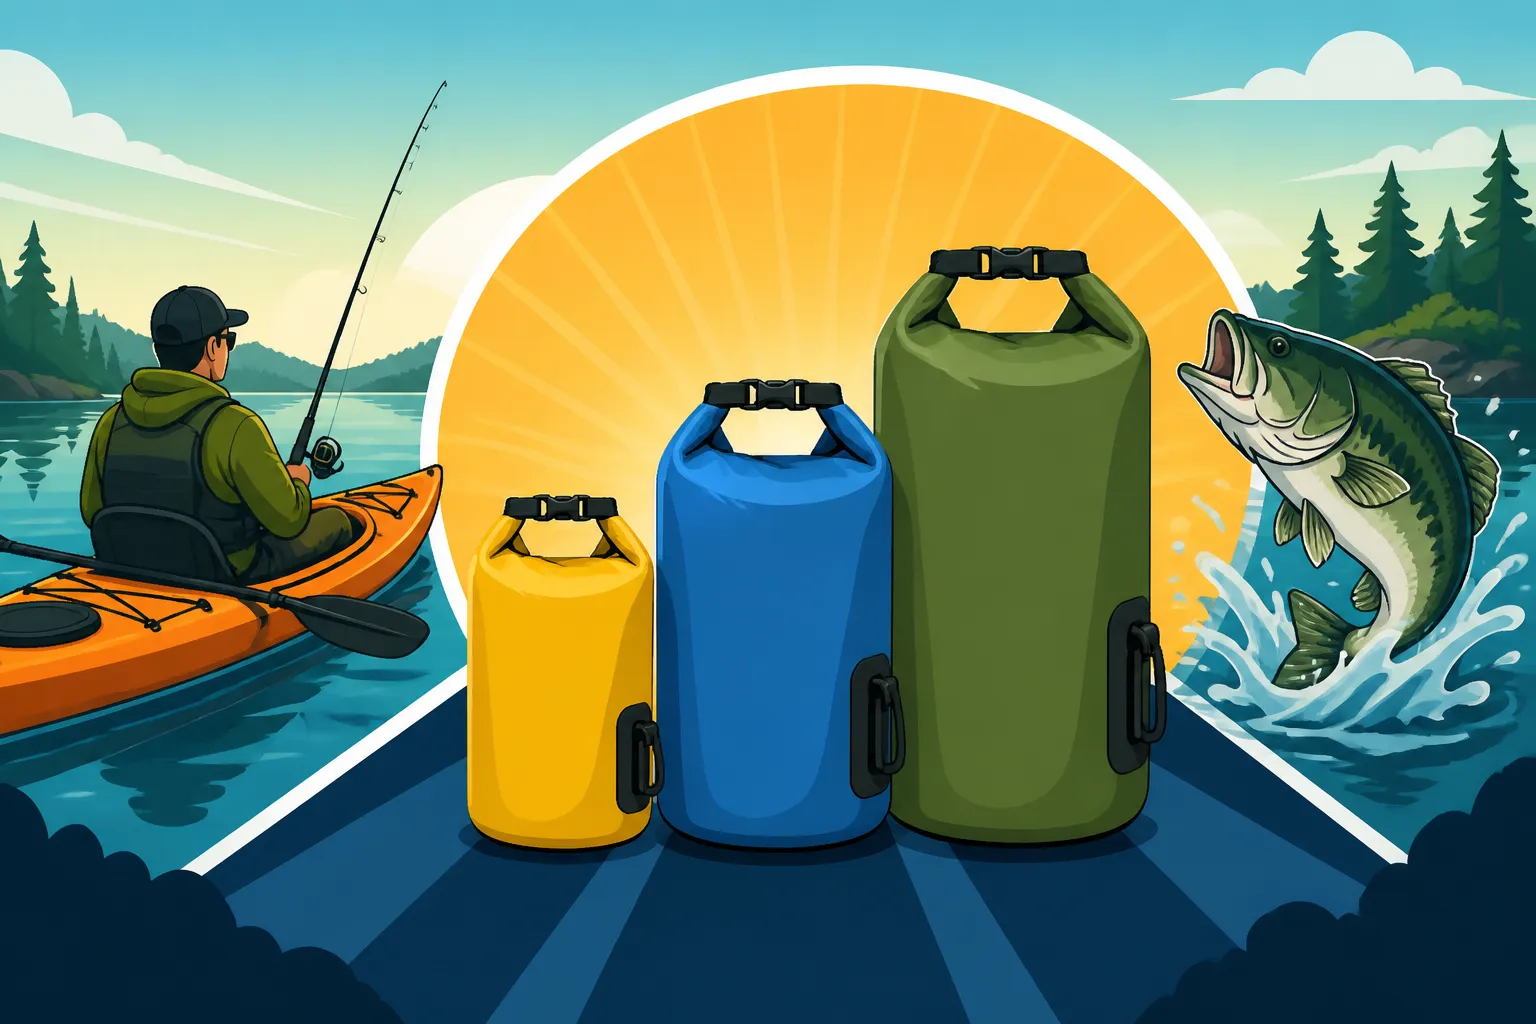
The Small and Mighty: 5-10 Liter Dry Bags
These smaller bags are fantastic for your absolute essentials. They're usually compact enough to fit into smaller hatches on a sit-inside kayak, or to be tucked neatly under the bungee cords on a sit-on-top.
- Ideal Use: Keeping your phone (perhaps in a separate Best Dry Box for Phone and Keys on the Water inside the dry bag for double protection!), wallet, car keys, and a few energy bars completely dry. If you're just heading out for a couple of hours and the weather looks perfectly clear, a 5L or 10L might suffice for these vital items. They are also excellent for specific pieces of gear you want isolated, like a small, compact camera or a few important fishing accessories that absolutely cannot get wet.
- Real-World Scenario: You're doing a quick morning paddle on a local lake, maybe fishing for panfish. You know you'll be back before lunch. A 5L bag keeps your phone, wallet, and a small snack secure. It's light, unobtrusive, and easy to access.
The Versatile Mid-Range: 15-20 Liter Dry Bags
This is often the sweet spot for many full-day kayak anglers and paddlers. It offers a good balance of capacity without becoming overly cumbersome.
- Ideal Use: This size is generally large enough for all your personal essentials (phone, wallet, keys), a packed lunch, a lighter rain jacket, a fleece layer, and a small first-aid kit. It's the go-to if you want to be prepared for a change in weather or extend your trip slightly. Many Best Kayaks for Ontario Fishing will have hatches that can comfortably accommodate a 15-20L bag.
- Real-World Scenario: You're spending a full day chasing walleye on the Bay of Quinte. You've packed your phone, a portable charger, your sandwich and snacks, a light rain shell, a warm hat, and a small pair of binoculars. A 20L dry bag handles all of this with a bit of room to spare, allowing for easy access without everything feeling jammed.
The Generous Option: 25-30 Liter Dry Bags
While pushing the upper limit for a single dry bag on a strict "full-day" trip, these sizes become useful if you have bulkier items, are packing for two, or want extra contingency items.
- Ideal Use: For colder weather trips where heavier layers are needed, or if you're carrying a compact camp stove for a hot lunch, or perhaps an extra specialized lens for your camera gear. This size also works well if you're combining your gear with a partner's for a shared bag. It's also great for carrying items like a spare fishing vest, or a larger Best Cooler for a Fishing Boat that needs to stay completely dry.
- Real-World Scenario: It's an early spring day, and you're heading out to target brook trout in a more remote area. You need a thicker fleece, a proper waterproof jacket, heavier gloves, a thermos with coffee, a substantial lunch, and all your electronics. A 30L bag will comfortably hold these bulkier items, keeping them dry and protected from the elements.
Table of Dry Bag Sizes and Typical Contents for a Full Day
Here's a quick reference to help visualize what fits:
| Dry Bag Size | Common Contents for a Full-Day Trip | Best For | Considerations |
|---|---|---|---|
| 5 Liters | Phone, wallet, keys, small snack, headlamp | Minimalist, short trips | Only truly essential small items |
| 10 Liters | Phone, wallet, keys, snacks, light rain jacket | Half-day, mild weather | Can hold a few more personal items |
| 15 Liters | Phone, wallet, keys, lunch, rain jacket, light fleece | Standard full-day, moderate gear | Good balance of capacity & portability |
| 20 Liters | All 15L items + bulkier layers, small camera/binoculars, larger first-aid | Full-day, preparedness for varied weather | Versatile, popular choice |
| 30 Liters | All 20L items + very bulky layers, large lunch, extra gear | Full-day with extra layers, shared gear | Can be bulky depending on kayak storage |
Tips for Maximizing Space and Securing Your Dry Bag on the Water
Once you've picked your dry bag size, how you pack it and secure it makes all the difference. It's not just about what fits; it's about making your life easier when you're on the water.
Smart Packing Strategies
- Compress Bulky Items: Roll clothing tightly to remove air. You'd be surprised how much smaller a fleece jacket becomes when it's rolled into a compact cylinder. Some dry bags even have purge valves to let out excess air, acting like a small compression sack.
- Prioritize Soft Items: Place soft items like clothing or towels at the bottom or along the sides. This helps cushion more fragile items and fill odd spaces.
- Strategic Placement: Keep items you might need quickly near the top or accessible. Snacks, sunglasses, or a light jacket for a sudden shower shouldn't require you to empty half the bag.
- Stuff Sacks and Organization: Consider using smaller, non-waterproof stuff sacks or Ziploc bags inside your dry bag to organize items. This makes it easier to find what you need without rummaging through everything. For instance, all electronics in one small bag, all snacks in another. This also provides an extra layer of protection, especially for things like your phone.
One Big Bag vs. Multiple Smaller Bags
This is a common debate among paddlers. For a full-day trip, especially for fishing, a mix often works best.
- One Large Dry Bag: Can be simpler to manage, but if you need something from the bottom, you might have to unpack a lot. It's often harder to fit a single large bag into tight kayak hatches.
- Multiple Smaller Dry Bags: Offers better organization and easier access to specific items without exposing everything to the elements. For example, a 10L bag for electronics and wallet, and a separate 15L bag for clothing and lunch. This also distributes weight better and allows you to stash bags in different compartments of your kayak. It's a great option for optimizing space in kayaks that might not have a huge central storage area. You can find multi-packs of varying sizes from brands found at Bass Pro Shops or online.
Securing Your Dry Bag on the Kayak
Losing a dry bag and its contents mid-trip would be a nightmare. Always secure your dry bag properly.
- Inside Hatches: The safest place for your dry bag is often inside a sealed hatch. This keeps it out of the way, protected from sun exposure, and securely contained if you capsize.
- Deck Bungees and D-Rings: If your kayak has deck bungees or D-rings, use them! Thread the bungees over or through the dry bag and ensure it's cinched down tightly. Many dry bags come with D-rings attached, allowing you to use carabiners or straps to clip them directly to your kayak.
- Leashes and Straps: For added security, especially on open-deck kayaks or for items you want easily accessible, consider using a short leash or strap to connect the dry bag to a fixed point on your kayak. This is a must for items like a Best Portable Fish Finder for Kayak Fishing that might be attached to your dry bag.
- Positioning: Place heavier dry bags lower in the kayak and towards the center to maintain stability. Avoid strapping large, bulky bags too high on the deck, as this can catch wind and affect your paddling dynamics.
By carefully considering your gear, choosing the right size, and employing smart packing and securing techniques, your full-day kayak fishing trips in Ontario will be much more enjoyable and worry-free.
Disclaimer
This article is for general informational purposes only and does not constitute professional advice. Laws, prices and regulations vary by location and change over time. Consult a qualified professional for guidance on your specific situation.